Quick-Order Forms
Quick-Order Forms
Optionally select a Ship-To, Form Type and check/un-check Include Deleted and then click/touch  to create a Remote Order using the selected Quick-Order Form.

Select a category of Items from the drop-down list to display the Items. Next, enter quantities for one or more Items. When you are finished, click/touch the Add Items button and the items will appear on the Items Ordered tab.

On the Items Ordered tab, you can click/touch  to edit quantity or to delete the line item. If editing the quantity, once you are finished click/touch
  to either save or cancel the changes.
You will also see a status of  indicating the order has not yet been Confirmed.

Purchase Order tab
Optionally enter a Purchase Order for the order.
Order Note tab
Optionally enter Order Notes for the order.
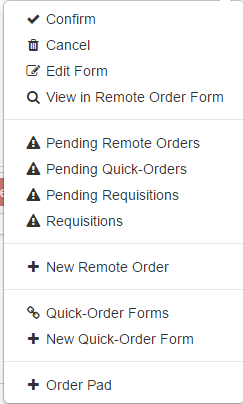
On the right, fly-out menu you have all the options in the standard Right Fly-out Menu except Email and you can Cancel the Order, View the Order in the Remote Order Form or Edit the Quick-Order Form or create a New Quick-Order Form.
Creating, Editing or Deleting a Quick-Order Form
Click/touch to delete a Quick-Order Form and
  to edit an existing Quick-Order Form.

Note: Editing and Creating a Quick-Order Form are similar processes so will be covered together below.
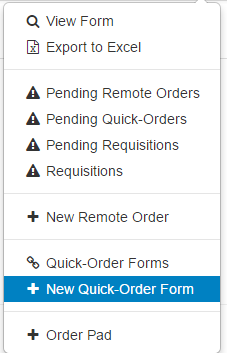
Select New Quick-Order Form to create a new Quick-Order Form.
Before you can create a new Quick-Order Form, you must select a Ship-To.

The only other required data is a Form Name.
Optional data include:
- Purchase Order Number
- Group Title: This is a label for the logical grouping of items as you'll see on the Items tab of the Quick Order Form.
- Enable Bins: This provides a further logical sub-grouping of items as you'll see on the Items tab of the Quick Order Form.
- Replenishment Method: Select Min/Max or OP/OQ as the replenishment method. The default is Min/Max.
- Form Type: Quick Order Forms can be used as standard order forms or as Requisition-Only forms the main difference being that Requisition-Only forms cannot be sent to P21 as a live order without a designated Web Connect user approving the order.

Click/touch and you will now be in edit mode for the Quick-Order Form, which is the same process of editing an existing Quick-Order Form.

The Contract # drop-down list shows all contracts available for the customer. When the Quick-Order form is used to build an order, if an item on the Quick-Order form is on the selected contract (if one was selected), then the item will display current contract pricing.
Check "Form Deleted" to delete the form. Note you can Un-Delete deleted forms and continue to use them.
On the Groups tab you can add logical groupings of items that belong to (conceptually) the Group Title you defined on the General tab. Groups help you logically or virtually organize groups of items for VMI or other ordering scenarios (for example) where you are placing orders at a customer location and you want to create a logical flow or reminder list of areas to visit to potentially order or re-order various items. In our example we have named our Group Title "Racks" and
then created two logical categories or sub-groupings called "Northeast Wall Rack" and Blue Widgets Rack" to help us organize our items for a specific environment or order placement scenario.

On the Items tab, you'll notice how Groups can further be organized (optionally) into another logical grouping of "Bin". The idea with Bins is that for each given Group you might have sub-areas within the Group that you need to check to
see if items need to be ordered. You can edit each line of the Quick-Order form by touching/clicking  and then
  to save changes. To add a new item, click/touch
  and select an item. You can then immediately assign it a
Group and/or Bin and other information.

You can select a group in the Group (we named the group "Racks") to filter the Quick-Order form accordingly and select one or more items using the select all or individual checkboxes  and click/touch
"Move to Selected" to reorganize items on a form or click/touch "Delete Selected" to remove items.

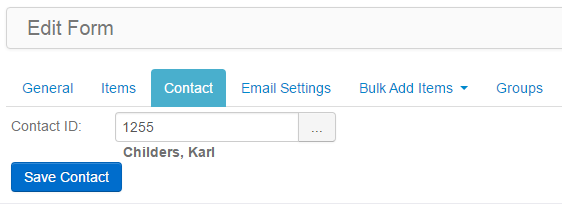
Use the Contacts tab to add a contact for the form.
Use the Email Settings tab to set up people to be notified of the order via email and optionally include pricing or not.

Use the Bulk Add Items tab to quickly add multiple items to a Quick-Order Form. You can optionally select a Group to add the items to or assign the Group later.
You can also Bulk Add Items from Contracts, Order History, Import Files and Quick-Order Templates. Quick-Order Templates are stored lists of items that someone configured for later re-use for building Quick-Order Forms.
Note: Quick-Order Templates need to be set up by your contact at the company that provided you access to this Customer Portal.

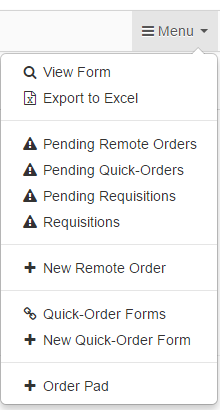
On the right, fly-out menu you have most of the options in the standard Right Fly-out Menu. Additionally, you can use View Form to use the form to place a new Remote Order and you can
select Export to Excel to export the Quick-Order Form items to Excel.
The Export to Excel option allows you to export a complete list of Items contained in the Quick-Order Form (see below data that is exported).

In the right fly-out menu, you can also select Export in Importable Format.
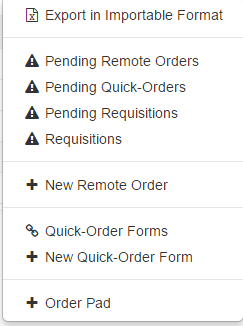
This allows you to select the desired export format for subsequent re-importing of the items using the
Import Items from File feature. (See
Import Items from File in the Remote Order Form topic)
