Remote Order Form
The Remote Order form allows the user to manually build an order, save progress and revisit and modify the order at any time and when satisfied, Confirm (Send) the order to P21.

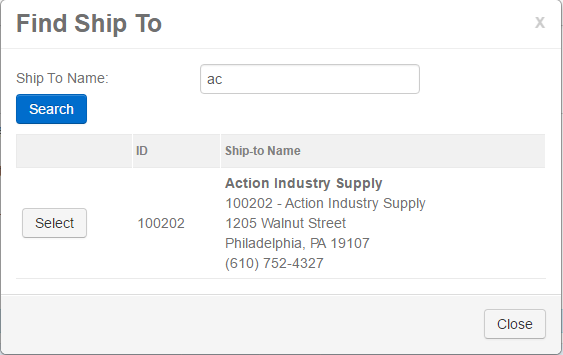
The first step in building a Remote Order is always to select a Ship To. Click/touch the Ship To ID: ellipsis button  and then search for a Ship To in the Find Ship To pop-up and select a Ship To to use for the order.
Contact ID
This is the contact for the order if selected.
Sales Loc ID
This is auto-populated when you add an Item to the order. This is the Item Sales location.
PO #
Enter an optional PO #.
Contract #
Optionally use a Contract # for contract-specific item pricing.
Req Date
Enter an Order Requested Date.
Quote
To submit a Quote instead of an Order, check the Quote check box.
Refresh Pricing
Especially with orders you have been working with for a longer period of time, this will get the latest pricing from P21.
Adding Items
Click/touch  to add an item to the order.
Note: Items cannot be added without a Ship-To being selected.
Note: Item search results are driven by the selected Ship-To preferred location as set in P21.
Use the filters to find the item you would like to add. Click/touch the  button to hide/show the filters.
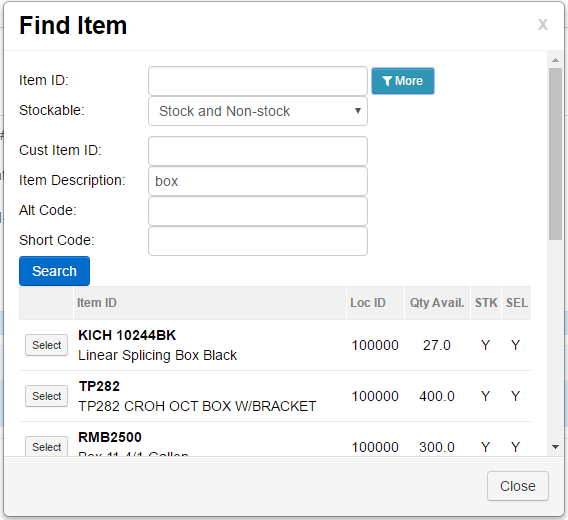
Select an Item from the list and it is now ready to add to the order by clicking/touching the  button. Before you Save the item to the order, you have the opportunity to adjust the quantity and Unit of Measure (UOM).

Once you click/touch the  button, it now appears as a line item on the order.

Click/touch  to edit quantity and UOM of the line item or to delete the line item.
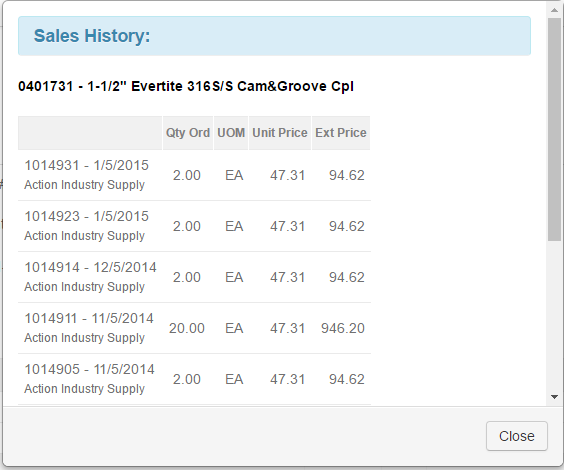
Click/touch  to see Sales History for the Item.
Contacts Tab
Contacts entered here (as well as the Order Contact optionally entered on the Order tab) show up as Contacts in the Email Order form, allowing you to email the order to any or all of the contacts.

Order Note Tab
Optionally enter a note for the order.

Bulk Add Items
These order methods provide rapid item selection when building an order.
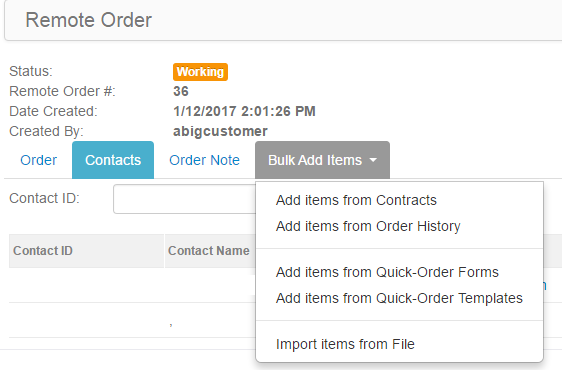
Add Items from Contracts
Select a Contract to display the available Items for the Contract. Then either check one or more Item check boxes (which defaults the order quantity to 1 if you don't specify a quantity) and/or enter quantities
for one or more Items. When you are finished, click/touch the Add Selected Items button and the items will appear on the Order Tab.
Add Items from Order History
Enter order history criteria and then click/touch Find to see results. Then either check one or more Item check boxes (which defaults the order quantity to 1 if you don't specify a quantity) and/or enter quantities
for one or more Items. When you are finished, click/touch the Add Selected Items button and the items will appear on the Order Tab.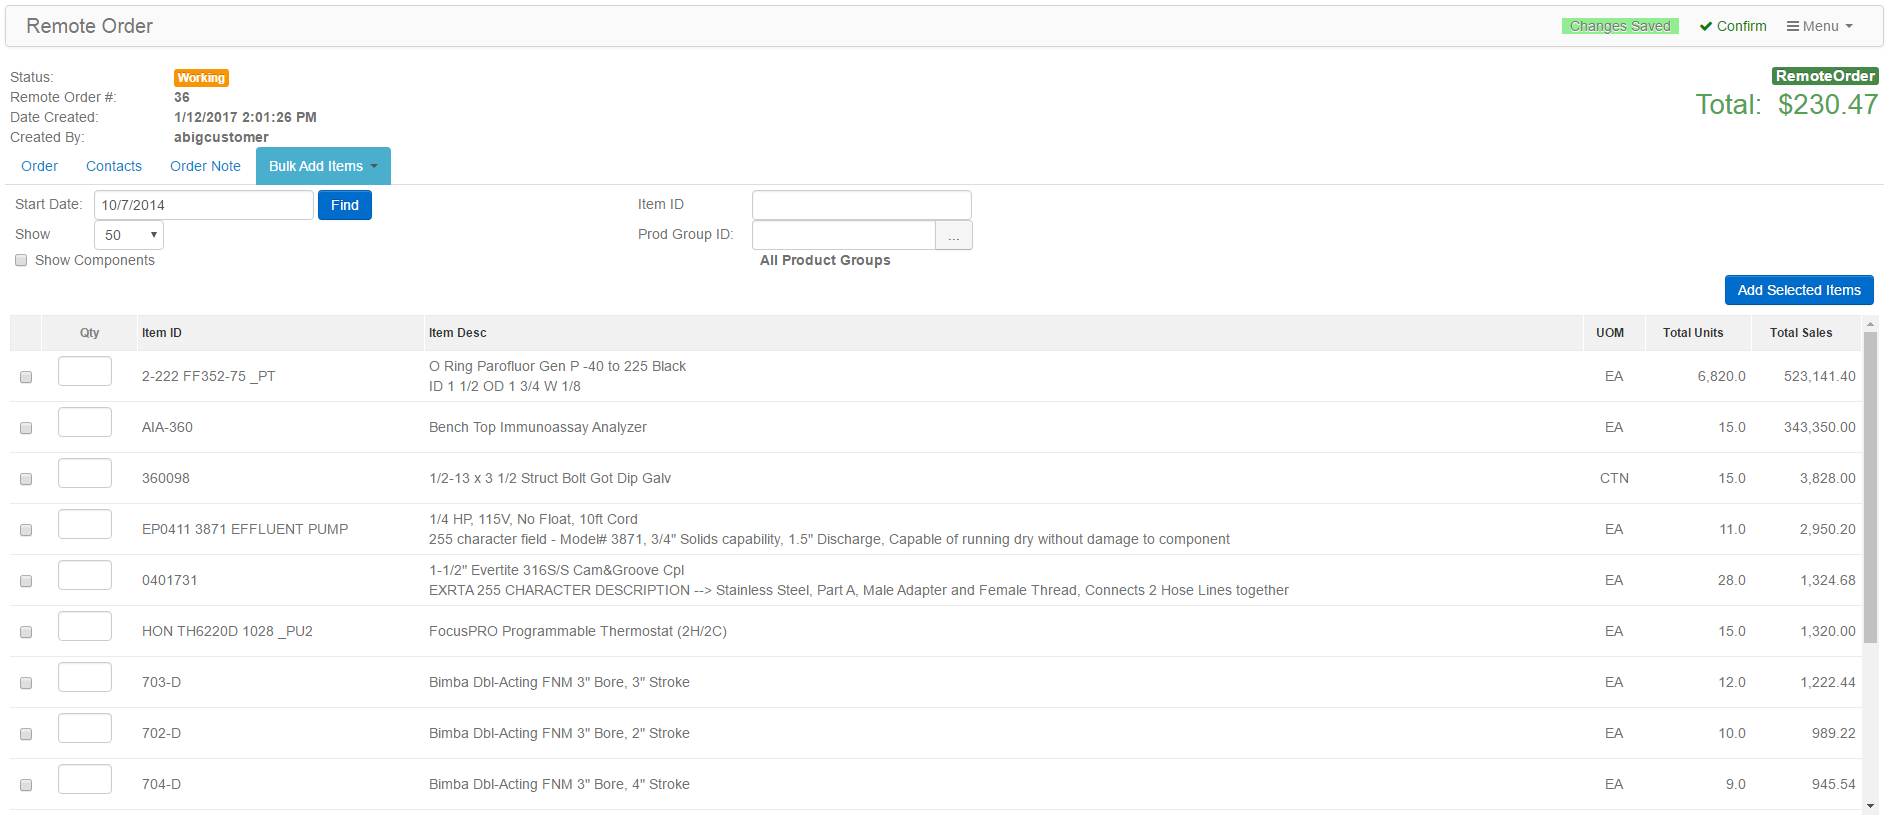
Add Items from Quick-Order Forms
Select a Quick-Order Form to display the available Items for a Quick-Order Form. Then either check one or more Item check boxes (which defaults the order quantity to 1 if you don't specify a quantity) and/or enter quantities
for one or more Items. When you are finished, click/touch the Add Selected Items button and the items will appear on the Order Tab. You can also select a Ship-To for the order and filter the drop-down list of Quick-Order Forms using the Form Type list.
Add Items from Quick-Order Templates
A Quick-Order Template is another form of reusable/stored list of Items that can be used to Bulk Add Items to a Remote Order Form or can also be used to create/manage Quick-Order Forms. To use a Quick-Order Template to Bulk Add Items to a Remote Order, select a Quick-Order Template to display the available Items for a Quick-Order Template. Then either check one or more Item check boxes (which defaults the order quantity to 1 if you don't specify a quantity) and/or enter quantities for one or more Items. When you are finished, click/touch the Add Selected Items button and the items will appear on the Order Tab. 
Items stored in a file (such as a text or CSV file or spreadsheet or bar code scanner file) can be imported into a Remote Order provided they are in the proper format. To see the expected format, click/touch the  button.
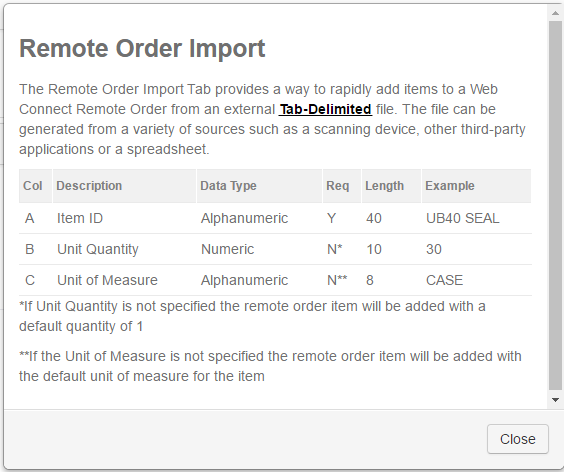
To import a file, either drag and drop the file to the "Drop files here" box or click/touch the  button and select the file to import.

If your file contains Items without quantities and you want to import them with a default quantity of 1, click/touch  and those Items will be included in the import and when you click/touch
 the Items will be added to the Order with a quantity of 1 an if you like, you can adjust the quantity on the Order at any time.
Note: options to Convert Single Line to Rows and Field Count drop-down selection is for Quick Mark bar code scan files only.
Once you have selected a file, click/touch the  button to upload the file. During this process Web Connect will validate Items and provide error messages as needed.


Select the items you would like to add to the Remote Order and click/touch  to update the Remote Order.