How to Set Up the FREE Community Version of Web Connect for P21
If you are interested in using the FREE Community version of Web Connect for Epicor Prophet 21/P21, below are the steps to follow.
If you have any questions, need assistance or would like to suggest changes or new features, send us an email: [email protected].
To play back the Community webinar visit our YouTube channel at: https://youtu.be/5r-6eSic-a4
Step 1:
Register for the Community version at: https://p21connect.com/community/
You will then receive an email containing the installation package and a FREE license key.
Step 2:
Make the installation package available to the IT person responsible for your IT infrastructure/servers. They will need access to a Windows server running Microsoft IIS.
Step 3:
Your IT person will then:
a) Extract the Community files to a folder on your server running Microsoft IIS.
This location is typically C:\Inetpub\wwwroot\WCCommunity but can be any drive/folder you desire.
b) Download and install the.Net framework version 4.5 from Microsoft.
http://www.microsoft.com/en-us/download/details.aspx?id=30653
c) Set Community up to run in Microsoft IIS. — Here is a youtube video on that process: IIS Configuration Process – https://www.youtube.com/watch?v=RYT9y04rd-c
If you receive the following error, perform the steps below.
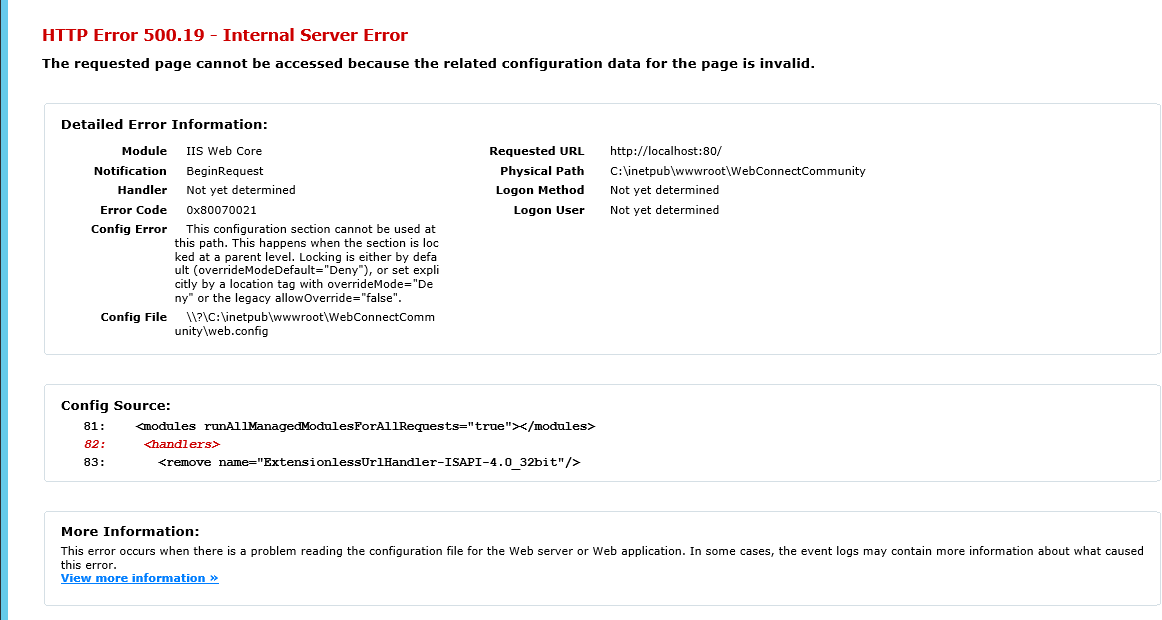
Try the following to resolve the above error:
Open IIS Manager
Click the server name in the tree on the left
Right hand pane, Management section, double click Configuration Editor
At the top, choose the sectionsystem.webServer/security/authentication/anonymousAuthentication
Right hand pane, click Unlock Section
At the top, choose the sectionsystem.webServer/security/authentication/windowsAuthentication
Right hand pane, click Unlock Section
If you receive the following error, perform the steps below.
“Unable to save file – Access to the path C:\Inetpub\wwwroot\<Your Path>\WebConnectCommunity.xml is denied.”
1. Navigate to “C:\inetpub\wwwroot\<Your Path>\” on your IIS server
2. Right Click on WebConnectCommunity.xml, and click properties.
3. Make sure that the IIS User account has write access to the XML file.
Step 4:
Once Step 3 is complete, ask your IT person for the url/web address they set up for Community. It might be an IP address such as http://192.168..200.20 or it might be a domain name such
as http://P21Community.MyCompanyWebAddress.com. Open the url/web address in a browser and then go to Step 5 to complete the setup.
Step 5:
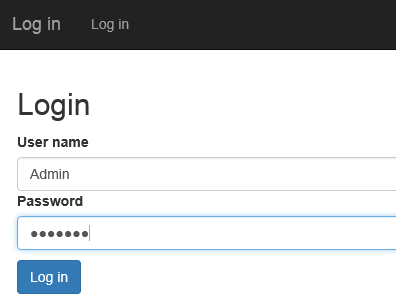
Click/touch the Log in link and enter the login credentials contained in the email you received.
Step 6:
Next, your IT person will (on the Admin/Setup page for Community below) enter your P21 database connection information. Click Test Connection and if successful, you will be able to select a Company ID, and enter your License Key:

After you hit Save Setup you will get the following message!

After you have successfully configured your database connection, click your Settings menu, and select User Management.

This will bring you to the following screen where you can add users or change any user information:

Important Note: Please make sure to change the default Admin password you received!
Hit the edit user/Add New user it will bring you to the following screen:

Username: Enter the username that you would like to give this user.
Password: Enter a password minimum 6 character length password.
Role: Select the role that you would like for this user –
- Admin: This user has the ability to manage users and change database settings in addition to all other Community functionality.
- Sales Rep: This user has only the view/browse functionality.
Sales Rep ID: This is where you can associate one or more Sales Rep IDs associated with this user account. This will filter the entire P21 system for this user for the associated Sales Rep IDs. You can select multiple sales rep ids, by holding down the “ctrl” key as you select the Sales Rep IDs.
Enable Price Lookup: If you do not want this user to be able to lookup pricing on item details screen select “No” on this option.